How to Replace a Broken Roof Slate: A Step-by-Step Guide
A broken roof slate can be a source of concern for homeowners. Not only does it compromise the appearance of your roof, but it can also lead to more extensive damage if left unattended. The good news is that you can replace a broken roof slate on your own, saving the cost of a professional roofer. We’ll walk you through the process of safely and effectively replacing a broken roof slate.
Step 1: Safety First
Before you start, it’s crucial to ensure your safety. Use a sturdy ladder and wear appropriate safety gear, including a helmet, gloves, and non-slip footwear. Work on a dry day to avoid accidents due to slippery conditions.
Step 2: Locate the Broken Slate
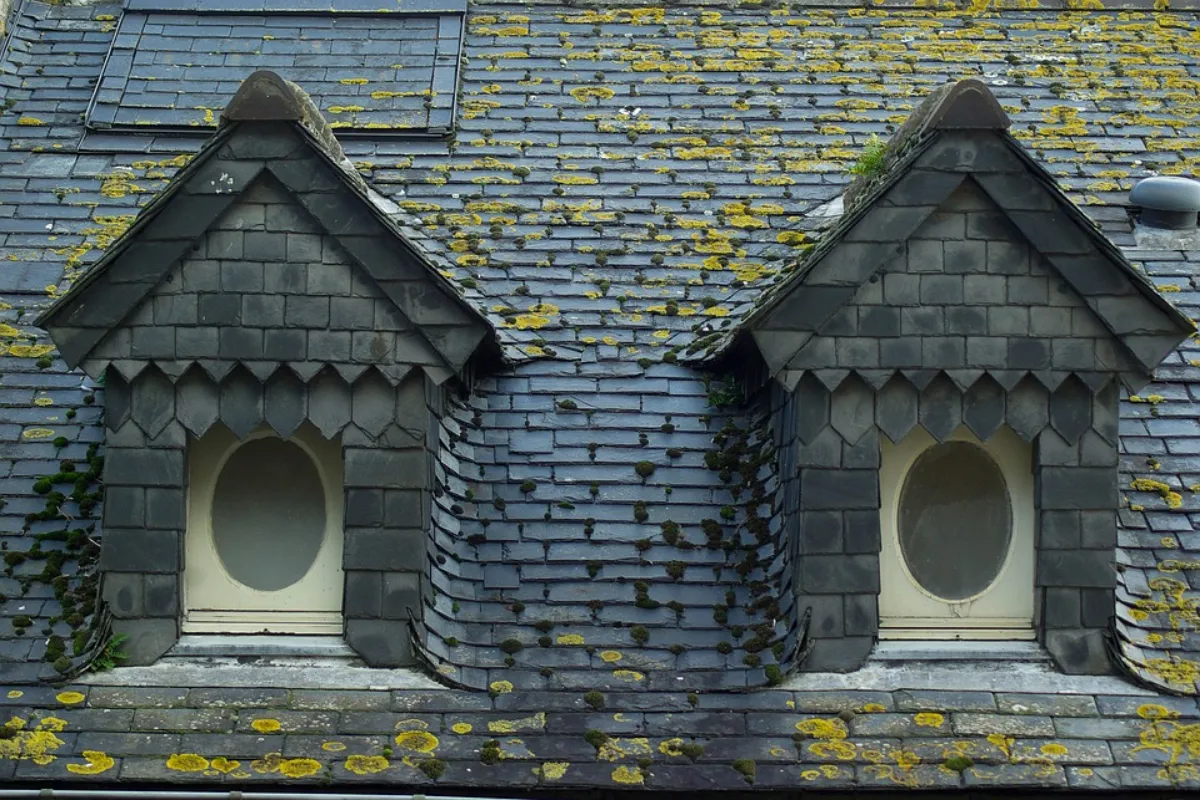
Carefully inspect your roof to identify the broken slate. Look for gaps in your roof or missing tiles. Broken slates are often a different color from the others, making them easier to spot.
Step 3: Gather the Necessary Tools and Materials
You’ll need the following tools and materials for this project:
Replacement slate tile: Make sure it matches the size, color, and thickness of the existing tiles.
Roofing nails
Hammer
Slate ripper
Roofing cement
Trowel
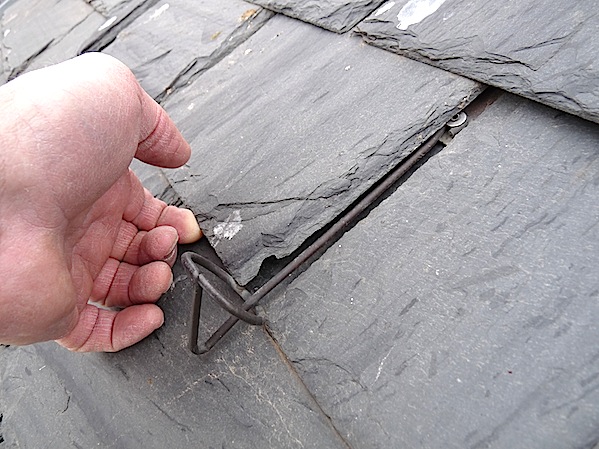
Step 4: Remove the Broken Slate
Use the slate ripper to gently lift the surrounding slates and expose the broken one. Be cautious not to damage the adjacent tiles during this process. Once you’ve exposed the broken slate, carefully remove any remaining pieces.
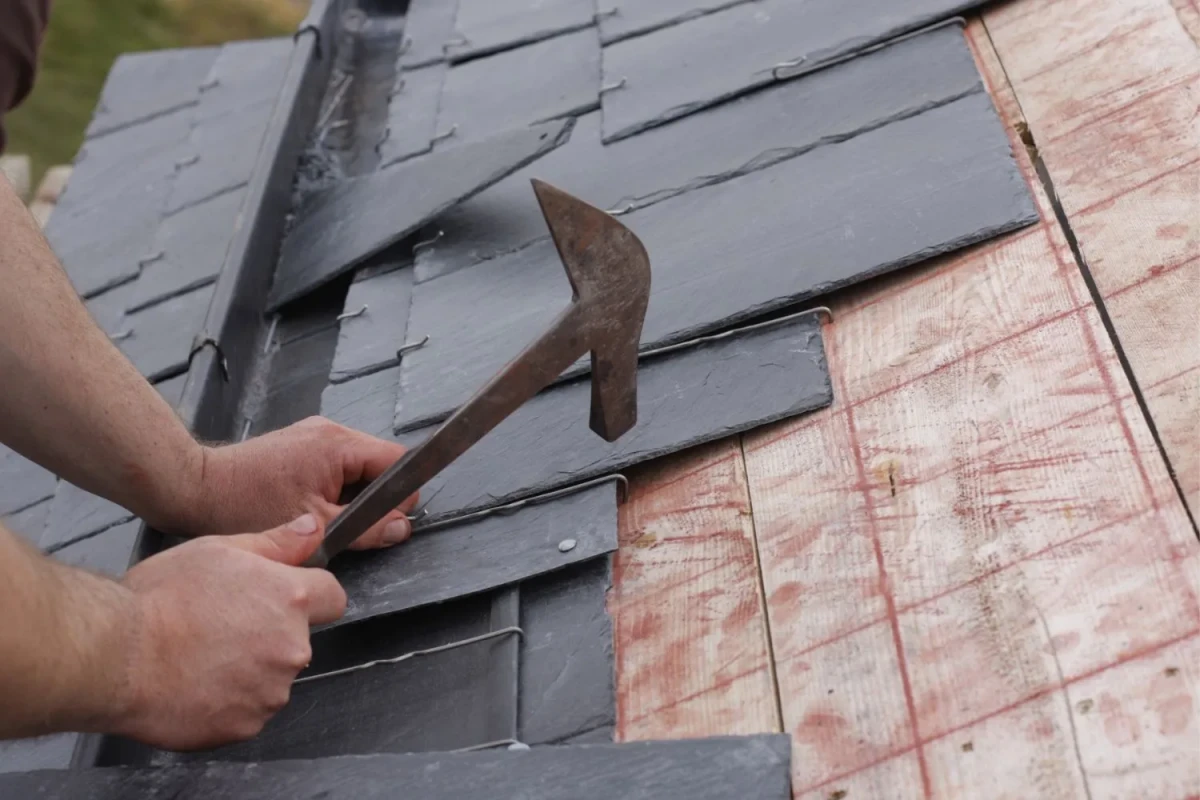
Step 5: Install the Replacement Slate
Place the new slate tile into the vacant spot, ensuring it fits snugly. You may need to trim it to fit correctly. Make sure the replacement slate matches the orientation of the surrounding tiles.
Step 6: Secure the Slate
Use roofing nails to secure the new slate. Drive the nails through the pre-existing holes in the slate, making sure they penetrate the wooden roof deck. Keep the nails close to the edge of the slate to avoid splitting it. Position the surrounding tiles back in place, ensuring they overlap the replacement slate.
Step 7: Seal the Slate
To prevent water infiltration, apply roofing cement over the nails and the edges of the slate. Use a trowel to spread the cement evenly and make a watertight seal. This will help to secure the slate and protect it from the elements.
Step 8: Final Inspection
Give your roof a final visual inspection to ensure the replacement slate sits flush with the surrounding tiles and that everything is properly sealed. Your roof should now look as good as new.
Step 9: Clean Up
Dispose of any broken slate remnants, and tidy up your work area. Safely descend from the roof, making sure your ladder is secure.
Congratulations, you’ve successfully replaced a broken roof slate. This simple DIY project can save you money and prevent further damage to your roof. However, if your roof has multiple broken slates or more complex issues, it’s always a good idea to consult a professional roofer. Regular maintenance and prompt repairs will keep your roof in excellent condition and protect your home for years to come.
2023-10-17