How to Repair a Slate Roof from the Inside
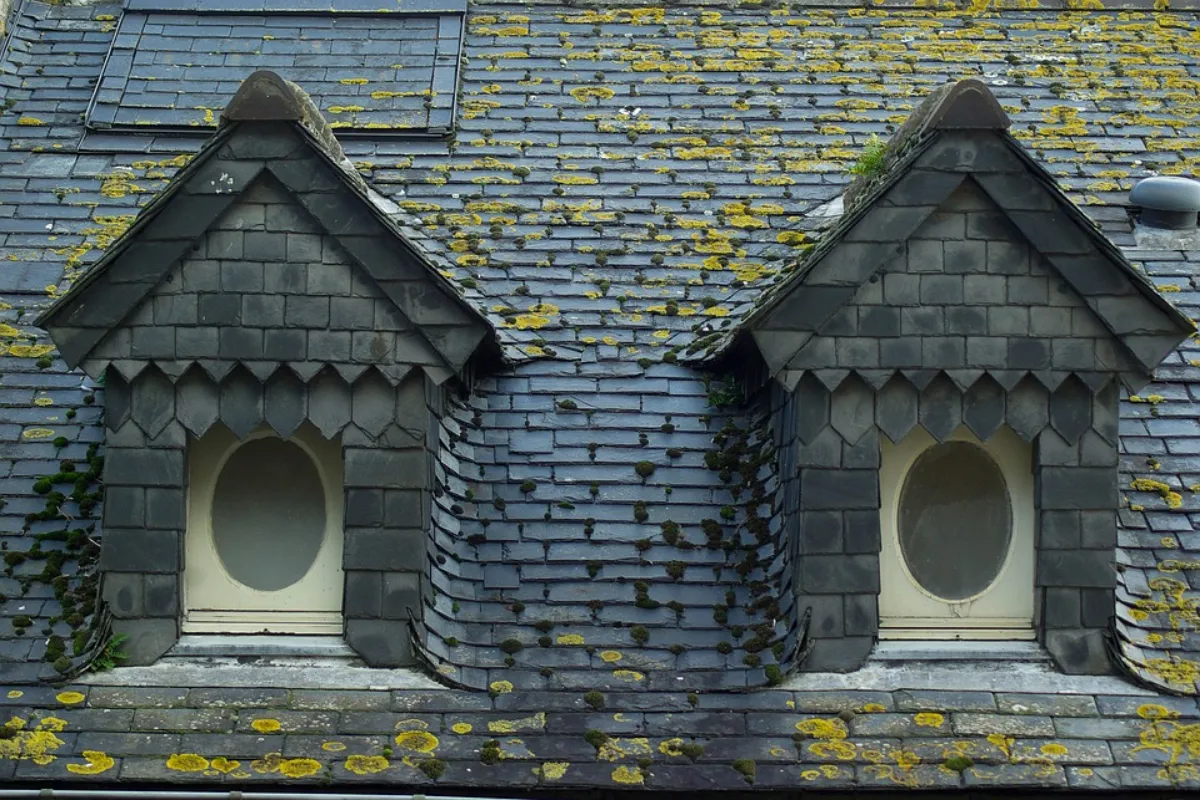
Slate roofs, known for their durability and elegance, can withstand the test of time. However, over the years, even the most robust roofs may require maintenance or repairs. When it comes to repairing a slate roof from the inside, it’s crucial to address the issue promptly to prevent further damage.
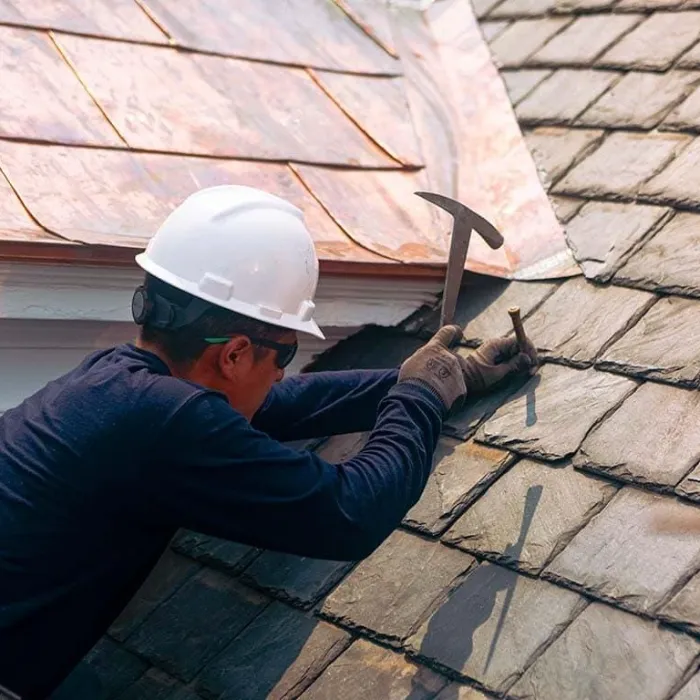
1. Safety First
Before embarking on any roof repair project, safety should be your top priority. Make sure to take necessary precautions, such as wearing appropriate safety gear, having someone nearby in case of emergencies, and working on a dry day to prevent slippery surfaces.
2. Inspecting the Interior
The first step in repairing a slate roof from the inside is to inspect your attic or ceiling. Look for signs of damage, water stains, or visible holes where daylight is coming through. These indicators can help you pinpoint the problem areas on your roof.
3. Identifying the Issue
Once you’ve located the issue from inside your home, it’s time to identify the root cause on the roof’s exterior. Common problems include cracked or missing slates, damaged flashing, or deteriorated underlayment. These problems are typically caused by extreme weather conditions, general wear and tear, or poor installation.
4. Gathering Necessary Tools and Materials
To repair the slate roof, you’ll need some essential tools and materials:
Safety gear (gloves, eye protection, helmet)
Ladder
Roofing nails
Replacement slates
Slate ripper
Roofing adhesive
Flashing material
Hammer
Pry bar
Underlayment
5. Accessing the Roof
Carefully climb onto the roof using a ladder. Make sure the ladder is securely positioned on a level surface. Once on the roof, move slowly and confidently, avoiding stepping on the slates as much as possible to prevent further damage.
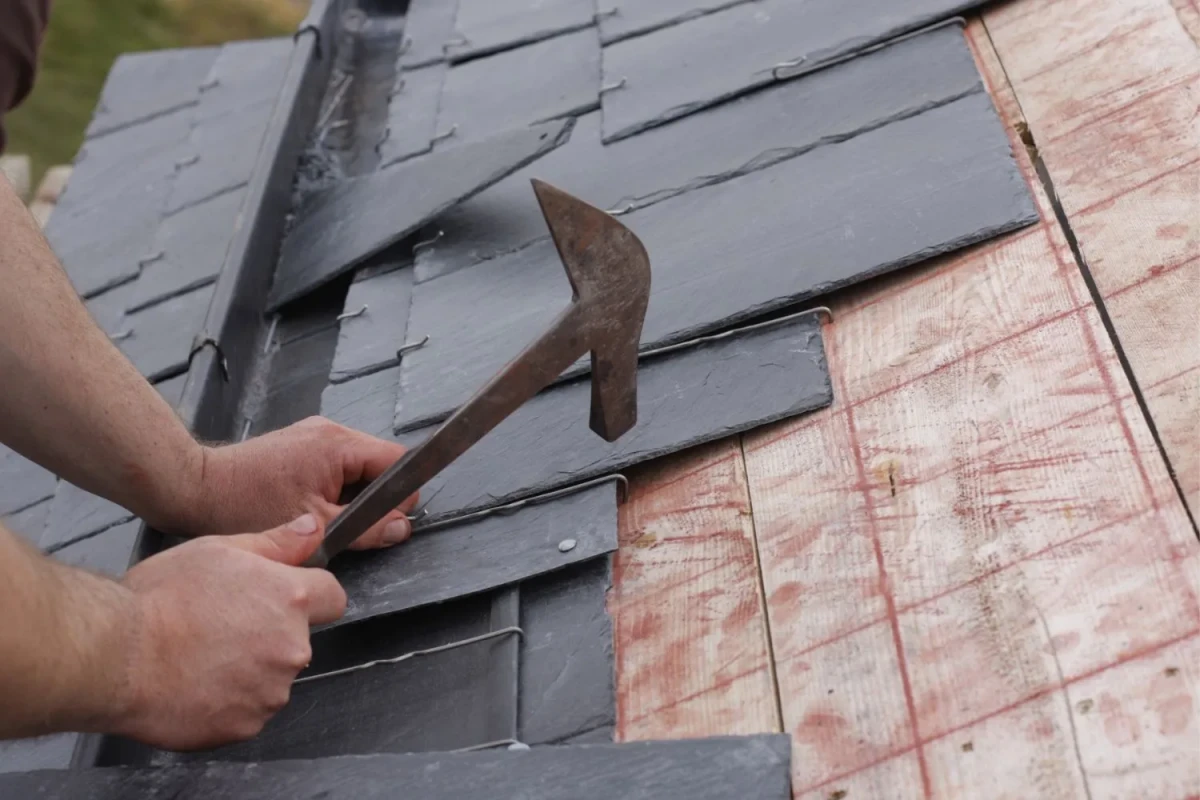
6. Replacing Slates
If the problem is a cracked or missing slate, use a slate ripper to carefully remove the damaged slate. Gently slide the ripper under the damaged slate and lift it out. Then, slide the new slate into place and secure it with roofing nails. Make sure the replacement slate is level with the surrounding slates for a seamless repair.
7. Repairing Flashing
If the flashing is damaged, remove the old flashing using a pry bar, and cut a replacement piece to fit the area. Secure the new flashing in place using roofing adhesive and roofing nails. This step is essential to prevent leaks around roof penetrations like chimneys, skylights, or vents.
8. Underlayment Replacement
In some cases, the underlayment beneath the slates may need replacement. Carefully lift the surrounding slates and remove the damaged underlayment. Replace it with a new underlayment, ensuring it is correctly aligned and attached to the roof deck.
9. Inspecting the Interior
After completing the repairs on the roof, return to the interior of your home to inspect for any remaining issues. Ensure that any water stains or damage have been adequately addressed.
10. Preventive Maintenance
To prolong the life of your slate roof and minimize future repairs, engage in regular roof maintenance, such as cleaning gutters, inspecting flashings, and replacing any missing or damaged slates promptly.
Repairing a slate roof from the inside can be a manageable DIY project, provided you have the necessary skills and equipment. However, if you’re uncomfortable with this process or the damage is extensive, it’s advisable to seek professional assistance. Properly maintained, a slate roof can provide many more years of protection and beauty for your home.
2023-11-06