How to Install Solar Energy on Slate Roof Tiles
Solar power generation systems can help you become self-sufficient at home or provide backup power in the event of a power outage. You can install solar panels on roofs, walls, garages, or any area that can receive sunlight. This article will show you how to install solar panels on slate roof tiles.
1. Prepare tools and materials
Before starting the installation, make sure you have the following tools and materials ready:
Solar panels (choose appropriate size based on household needs)
Solar panel bracket
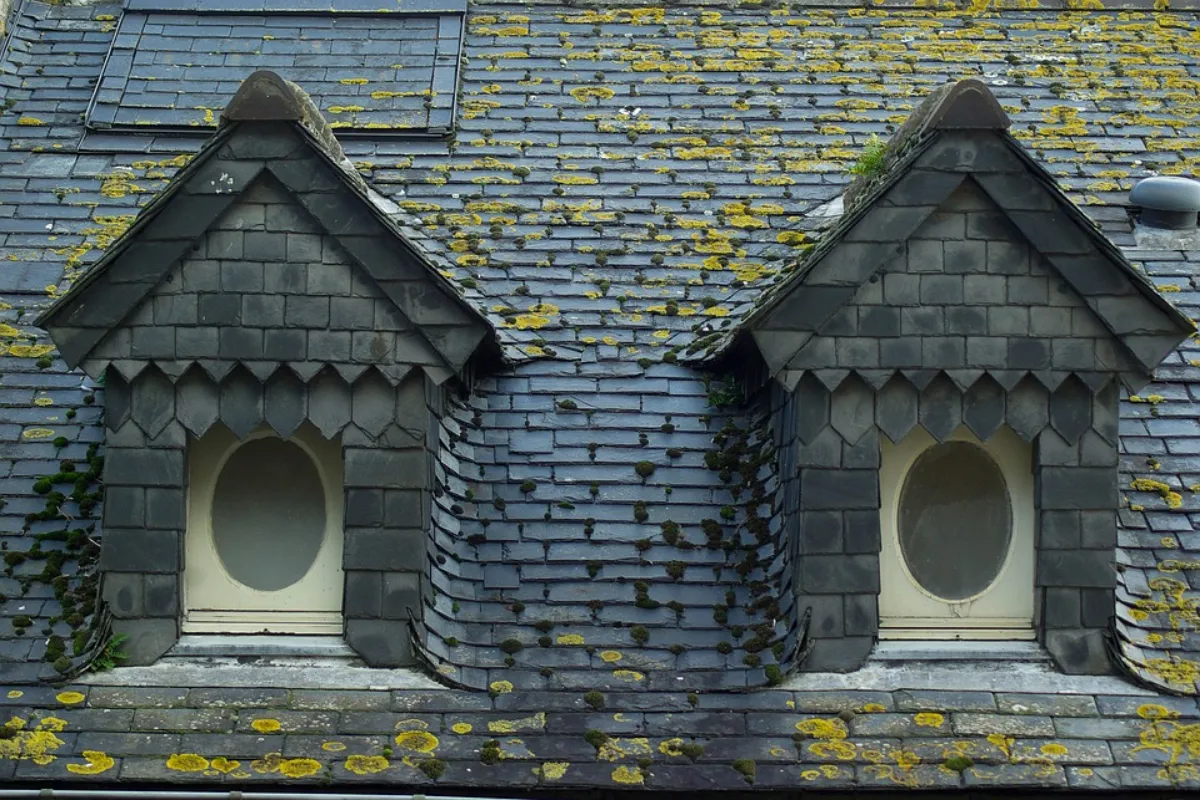
Slate roof tiles
Solar panel junction box
Cable (select the appropriate cable based on the selected solar panel model)
Auxiliary materials such as screws, bolts, tape, etc
2. Determine the installation location
Choose a flat, unobstructed location on the slate roof to install solar panels. Ensure that the location has sufficient lighting and does not affect the drainage of the roof. Use a marker to mark the installation position on the roof.
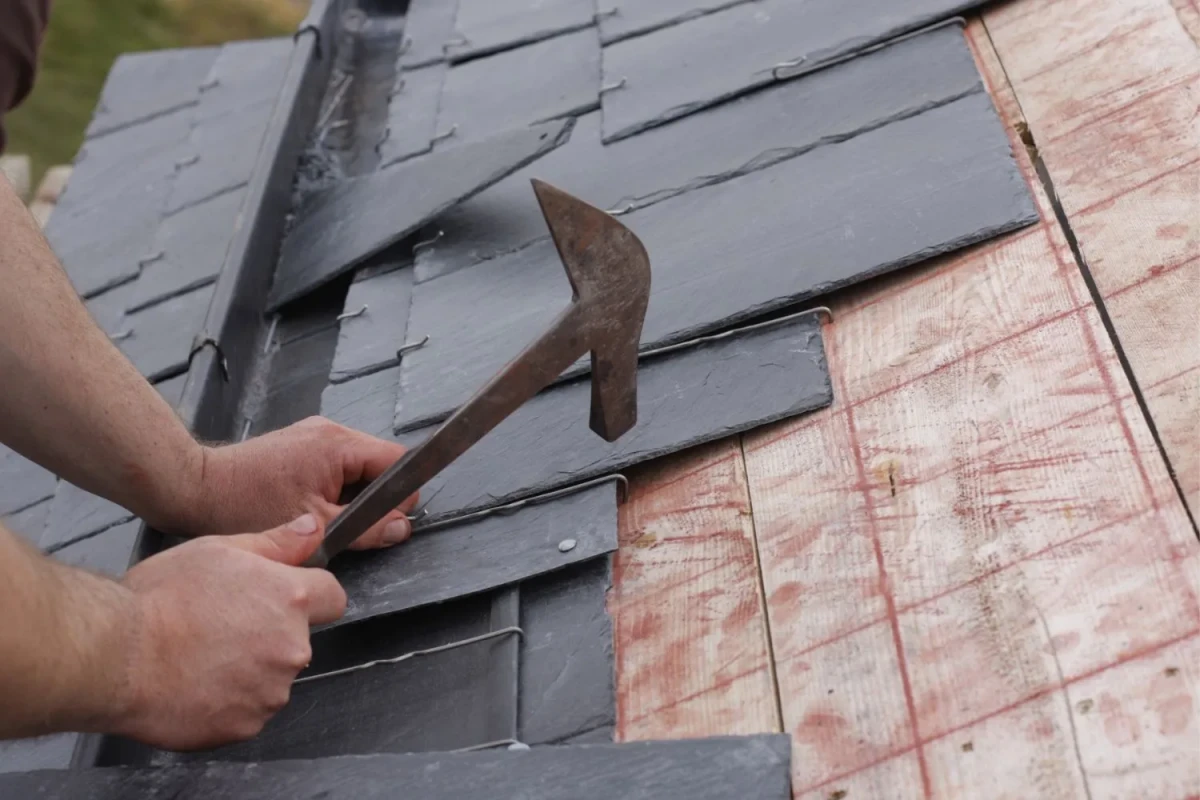
3. Remove old tiles (if necessary)
If you want to install solar panels on the roof, you may need to remove some old tiles. Use a hammer and chisel to remove old tiles to make room for the solar panel and bracket. Remember to operate carefully to avoid damaging the roof structure.
4. Installation bracket
Install corresponding brackets based on the size and type of solar panels. Ensure that the bracket can support the solar panel and be installed on a flat roof. Install the bracket according to the manufacturer’s instructions.
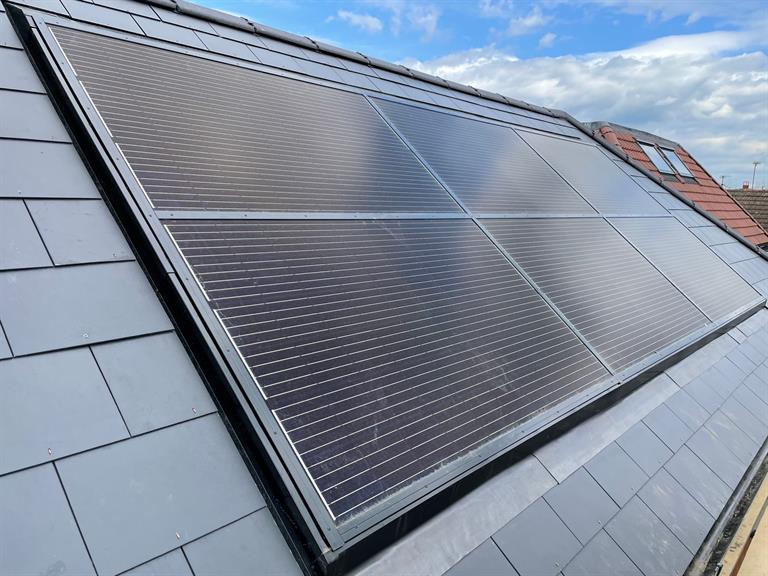
5. Install the solar panel
Install the solar panel on the bracket. Ensure that the direction and angle of the solar panel are correct according to the guidelines, in order to maximize sunlight. Fix the solar panel and bracket together and ensure that all connections are secure and reliable.
6. Connecting cables
Connect the solar panel junction box to the cable on the bracket. Connect solar panels together using cables to form a power generation system. Ensure all connections are tight, waterproof, and cover any exposed wires with tape.
7. Install the junction box
Install a solar panel junction box on the roof. Connect all cables together and connect the junction box to the home power system. Follow the instructions provided by the manufacturer for operation.
8. Testing and Debugging
After installation, conduct testing and debugging to ensure the normal operation of the power generation system. Check all connections for tightness, waterproofing, and observe if the solar panel can provide sufficient lighting. If any problems are found, promptly resolve them.
9. Safety precautions
When installing and using solar power generation systems, the following safety precautions should be taken:
Ensure good physical condition and stable mental state before operation;
Wear personal protective equipment such as safety helmets and seat belts during operation;
Use the correct tools and materials;
Avoid installation and maintenance in adverse weather conditions;
Do not walk or climb freely on the roof;
Ensure that all electrical systems comply with safety standards;
Comply with local regulations and rules when using and maintaining the power generation system.
2023-06-09