How to Fit Ridge Tiles on a Slate Roof: A Step-by-Step Guide
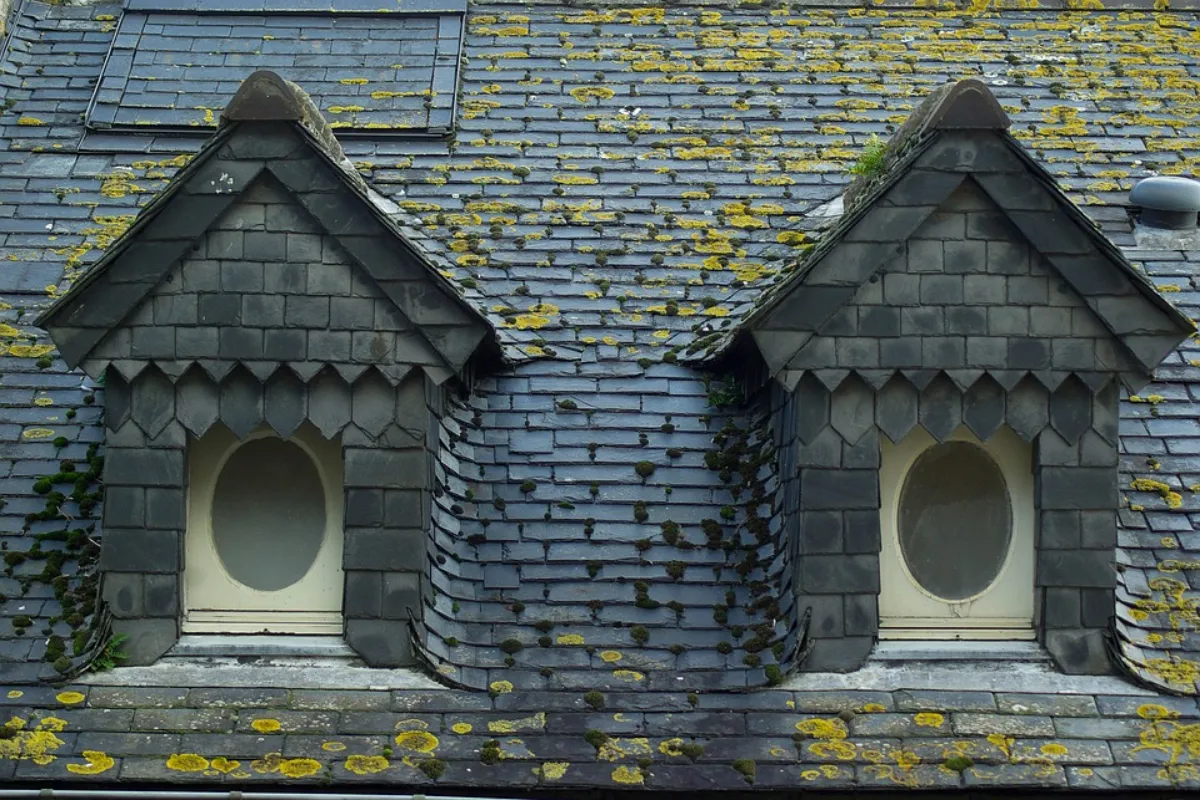
Slate roofs are renowned for their durability and timeless appeal. Ridge tiles, placed at the apex where two roof slopes meet, not only enhance the aesthetics of your slate roof but also play a vital role in preventing water penetration and securing the slates.
Tools and Materials You’ll Need:
Ridge Tiles: Choose high-quality ridge tiles that match your slate roof’s style. You can opt for clay, concrete, or synthetic ridge tiles.
Slate Roofing Nails: For securing the ridge tiles in place.
Ridge Tile Adhesive: To bond the tiles to the roof.
Tile Cutter: For cutting ridge tiles to the desired length.
Ladder and Safety Gear: Ensure you have a stable ladder and wear appropriate safety equipment like gloves and safety glasses.
Measuring Tools: For accurate placement of ridge tiles.
- Step 1: Safety Precautions
Before starting, ensure you have a secure ladder and someone on the ground to assist if needed. Safety gear, including gloves and safety glasses, is a must.
- Step 2: Measure and Mark
Measure and mark the centerline of the ridge on your roof. This ensures that the ridge tiles will be symmetrically placed.
- Step 3: Prepare the Roof
Make sure the slate roof’s surface is clean and free of debris or loose slates. Use a brush or blower to remove any dirt and dust.
- Step 4: Apply Adhesive
Apply a layer of ridge tile adhesive along the length of the ridge. You can use a notched trowel for even application.
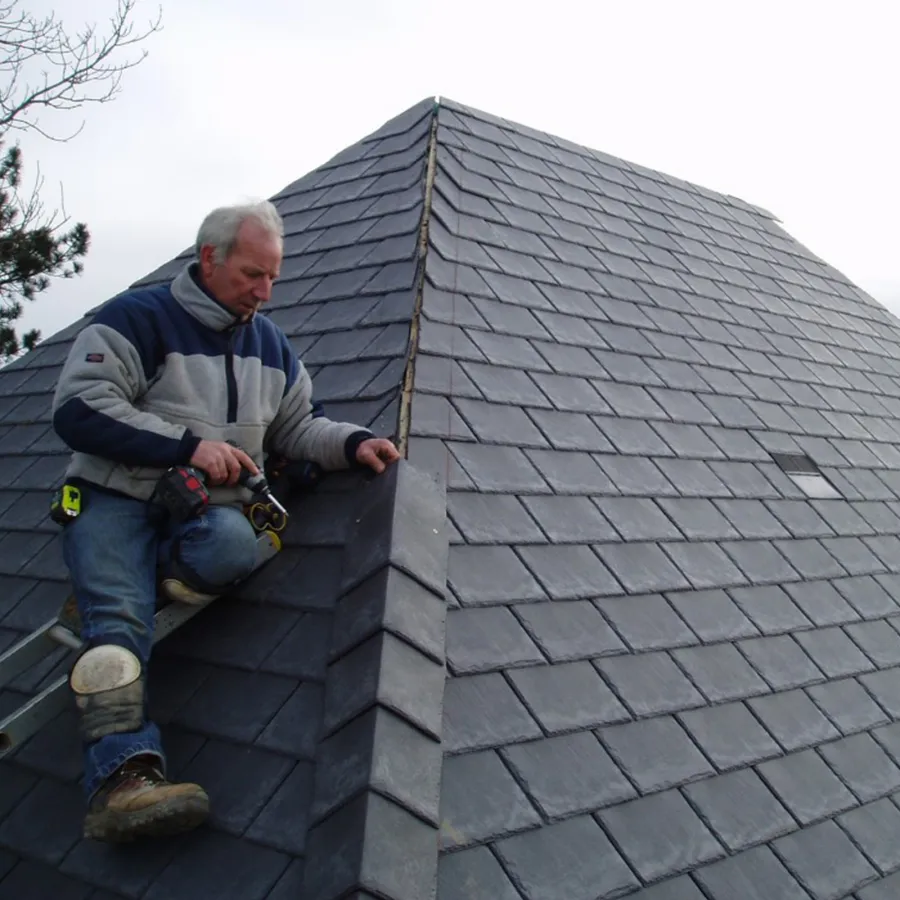
- Step 5: Place the Ridge Tiles
Carefully position the ridge tiles on the adhesive, starting at one end. Ensure they are aligned with the centerline you marked earlier. Press them gently into the adhesive to secure them.
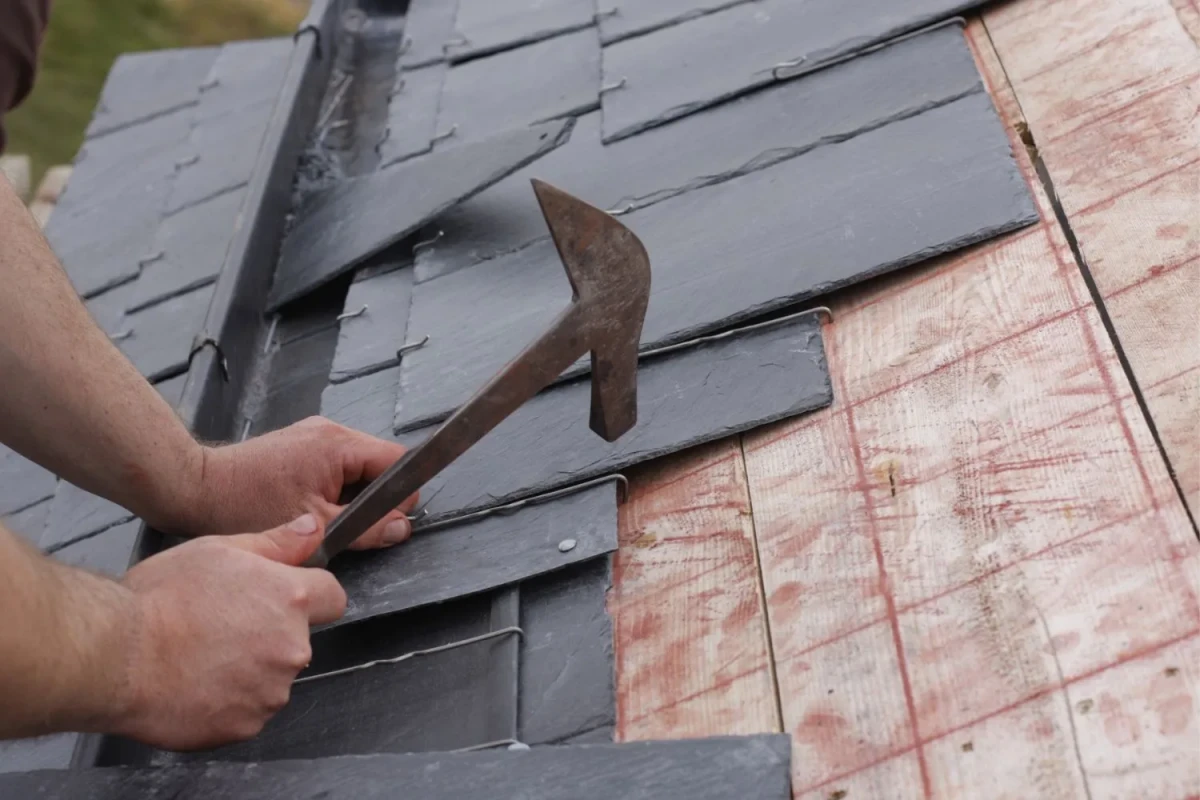
- Step 6: Secure with Nails
For additional security, nail the ridge tiles to the roof using slate roofing nails. Drive the nails through the nail holes in the ridge tiles, ensuring they penetrate the underlying slates.
- Step 7: Cut and Fit
If your ridge tiles need to be trimmed to fit the roof’s dimensions, use a tile cutter to cut them to the required length. Ensure the cut edges are neat and match the roof’s slope.
- Step 8: Seal and Finish
Inspect the ridge tiles to ensure they are firmly attached and aligned. Once you’re satisfied, apply a thin layer of adhesive along the top of the ridge tiles for extra sealing.
- Step 9: Cleanup and Final Check
Clean up the workspace, removing any adhesive or debris. Perform a final check to ensure the ridge tiles are securely fastened and present a uniform, attractive finish.
Fitting ridge tiles properly is not only a practical task but also a finishing touch that transforms a slate roof into an aesthetically pleasing, long-lasting structure. With careful attention to detail and adherence to these steps, you can complete the project with confidence, ensuring your slate roof stands the test of time while adding character to your home.
2023-10-16