How to Fit a Slate Roof Vent: A Step-by-Step Guide
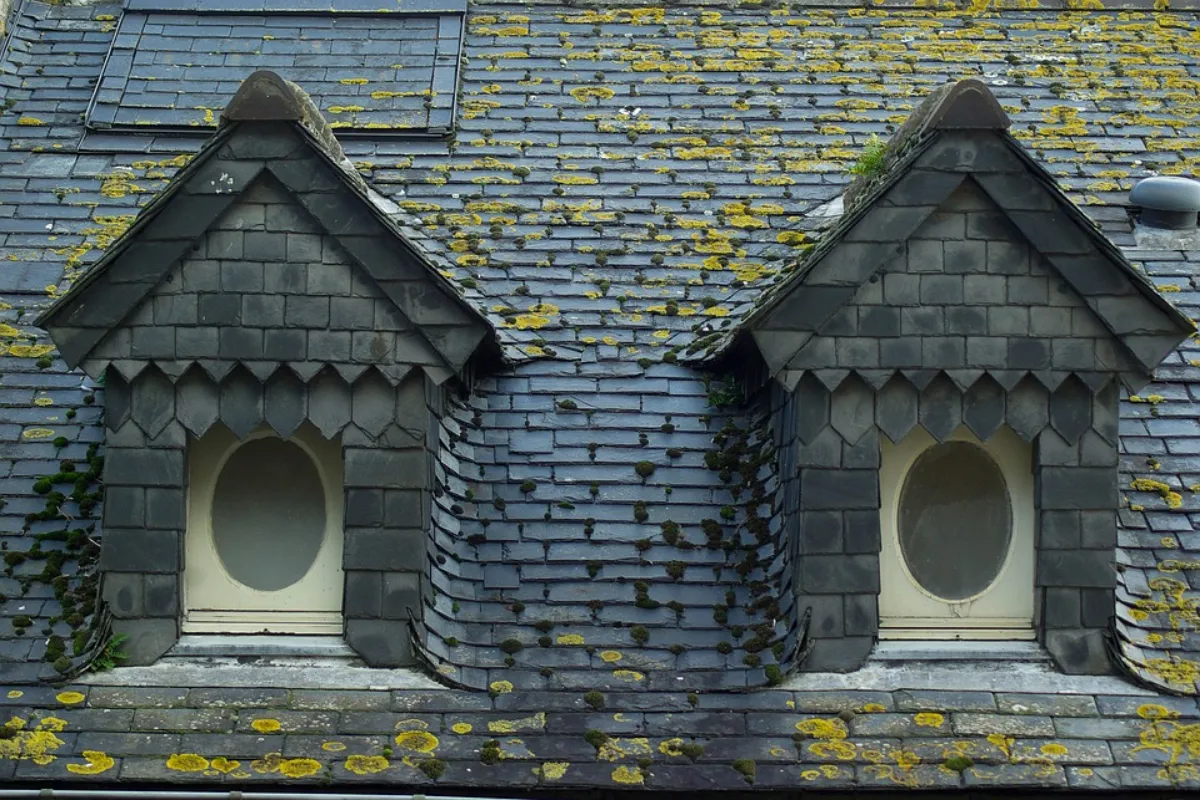
Slate roofs are renowned for their longevity and classic appearance. However, proper ventilation is essential to maintain a healthy roof and prevent issues like moisture buildup and damage. If you’re considering adding a roof vent to your slate roof, this step-by-step guide will walk you through the process.
Tools and Materials You’ll Need:
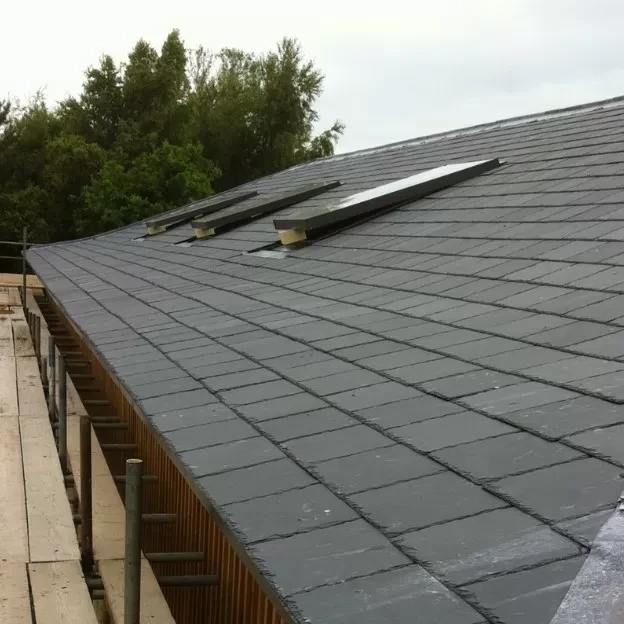
Roof Vent: Choose a suitable vent type, such as a ridge vent, static vent, or turbine vent. The size and style should match your roof’s design and your ventilation needs.
Slate Tiles: Spare slate tiles that match your roof’s existing slate.
Hammer and Nails: To secure the roof vent in place.
Roofing Cement: For sealing around the vent.
Ladder and Safety Gear: Ensure you have a safe and stable ladder and wear appropriate safety equipment like gloves and safety glasses.
Measuring Tools: For marking the location of the vent.
- Step 1: Safety First
Before you begin, ensure you have a secure ladder and someone on the ground to assist if needed. Safety gear, including gloves and safety glasses, is essential.
- Step 2: Determine Vent Location
Decide where you want to install the vent. This should be based on your roof’s ventilation requirements and the vent type you’ve chosen. A ridge vent typically runs along the roof’s ridge, while other vents may be installed in specific areas.
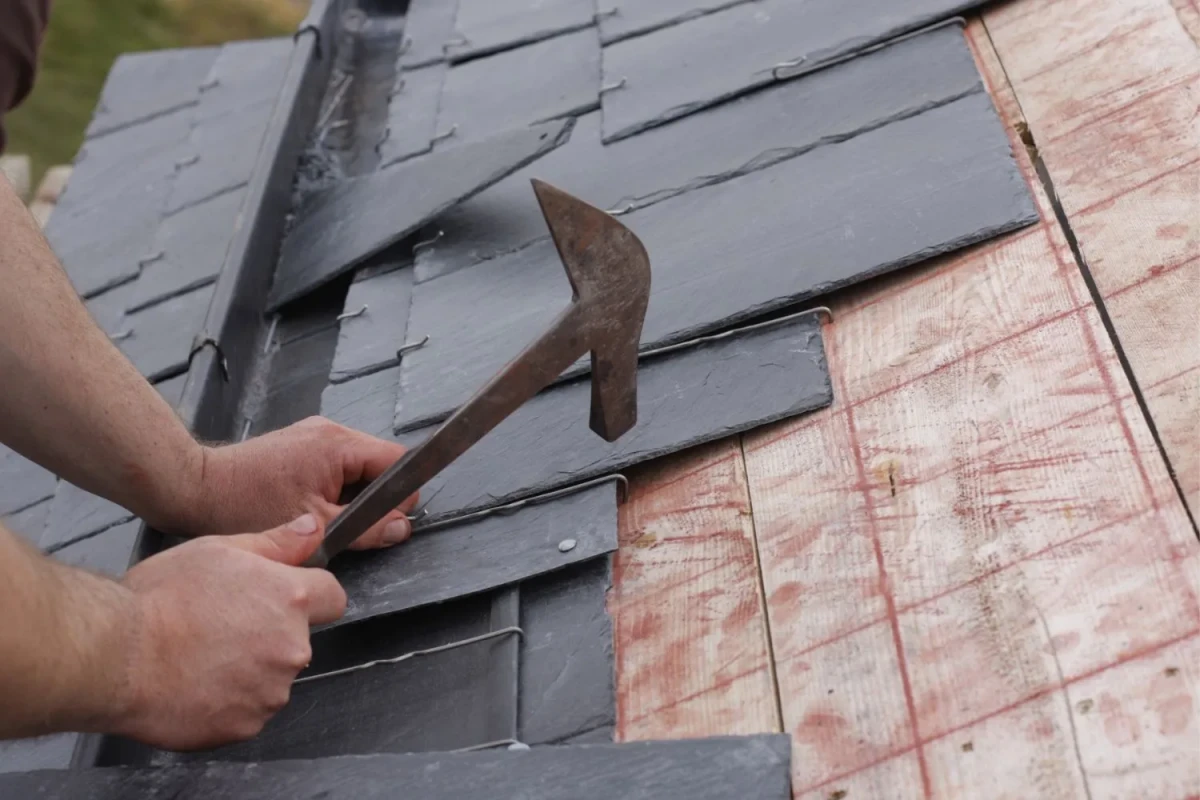
- Step 3: Remove Slate Tiles
Carefully remove the slate tiles covering the area where the vent will be installed. Start at the bottom and work your way up, using a slate ripper or flat bar to gently lift and remove the tiles. Be cautious not to damage the surrounding tiles.
- Step 4: Create an Opening
Using your measurements and a chalk line, mark the area where you’ll cut an opening for the vent. Use a circular saw with a diamond blade or a slate cutter to create the opening. Ensure it’s slightly larger than the vent to allow for proper placement.
- Step 5: Install the Roof Vent
Place the roof vent over the opening you’ve created. Ensure it fits snugly and aligns with the roof’s slope. Secure the vent in place using roofing nails, being careful not to damage the vent itself.
- Step 6: Seal Around the Vent
Apply roofing cement around the base of the vent to create a watertight seal. This prevents moisture from seeping in through gaps.
- Step 7: Replace Slate Tiles
Reinstall the slate tiles you removed in Step 3. Ensure they overlap the vent to prevent leaks and maintain the roof’s appearance.
- Step 8: Final Inspection
Inspect the vent and the surrounding area for proper placement, secure attachment, and a sealed, watertight connection. Ensure the surrounding slate tiles are properly positioned and overlap the vent.
Fitting a roof vent on a slate roof can be a valuable addition to maintain a healthy roof and prevent problems related to moisture and ventilation. With the right tools, materials, and careful execution, you can successfully add a roof vent to your slate roof while preserving its classic and timeless appearance.
2023-10-13